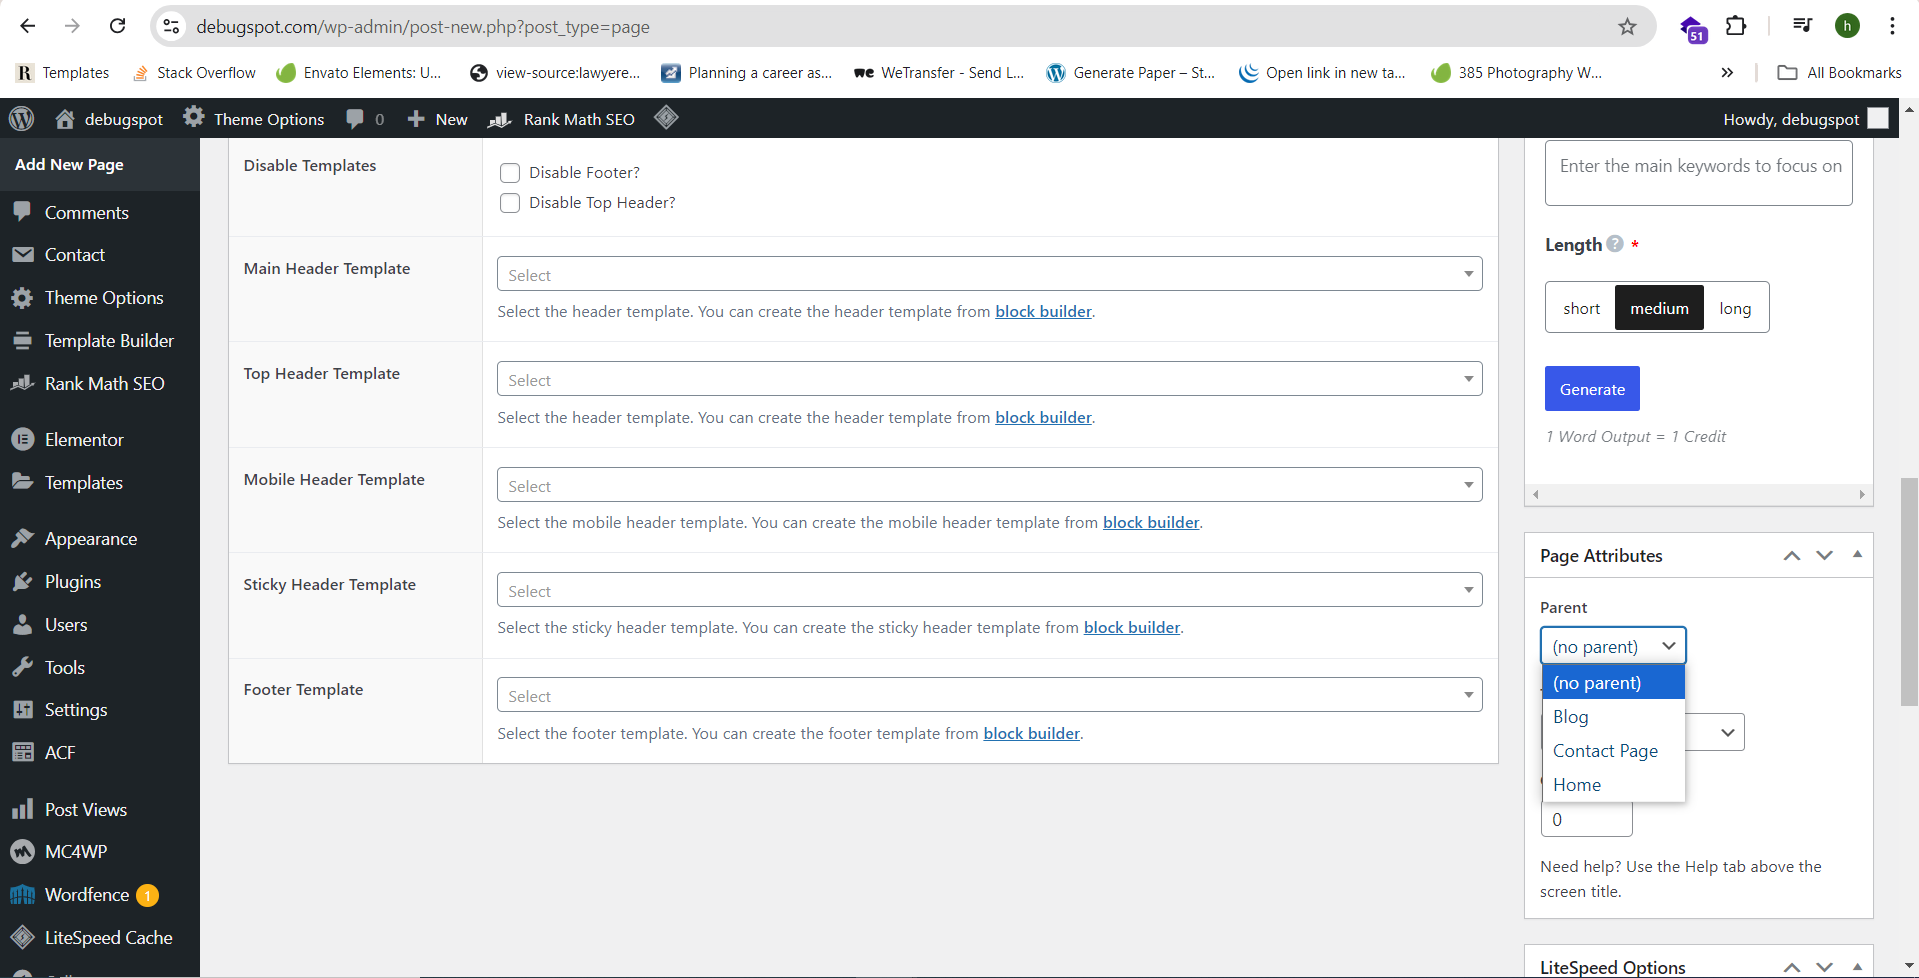
To create child or sub-pages in WordPress, follow these steps:
Step 1: Create or Edit a Page
- Log in to the WordPress Dashboard: Go to http://yourwebsite.com/wp-admin and log in.
- Navigate to Pages: From the left-hand menu, click Pages > Add New to create a new page, or All Pages to edit an existing one.
- Add Content: Enter the title and content for your new page.
Step 2: Assign a Parent Page
- Page Attributes: On the right side of the editor, you’ll see the Page Attributes section.

- Select Parent Page: Under the Parent dropdown, select the page you want to assign as the parent. This will make your current page a child (or sub-page) of that parent.
- If no parent is selected, it will remain a top-level page.
Step 3: Publish the Page
- Review and Publish: Once you’ve selected the parent page and added your content, click the Publish button to make the child page live.
Step 4: View Your Sub-Page
Now, your new page is a sub-page of the selected parent, and it will usually display in a hierarchical structure (e.g., http://yourwebsite.com/parent-page/child-page).
Step 4: View Your Sub-Page
- Go to Appearance > Menus.
- Add Pages to the Menu: Select the pages and add them to your menu.
- Drag and Drop: Drag the child page slightly to the right beneath the parent page in the menu structure to create a dropdown effect.
- Save Menu: Click Save Menu to apply the changes.
By following these steps, you can easily create a child or sub-page in WordPress.
