In this guide, we’ll show you how to manually install WordPress on your web hosting. This option is ideal if you prefer not to use the 1-click installer available with most hosting plans or if it’s not accessible.
System Requirements for WordPress:
- Web Server: Apache or Nginx
- Local Development: XAMPP, WAMP, or LAMP stacks are recommended for setting up WordPress on your local machine.
- PHP: Version 7.4 or greater
- MySQL: Version 5.7 or greater, or MariaDB version 10.3 or greater
- HTTPS Support: Recommended
- Browser Support: Internet Explorer 8+, Firefox, Google Chrome, Safari, Opera
To install WordPress, follow these steps:
Step 1: Download WordPress
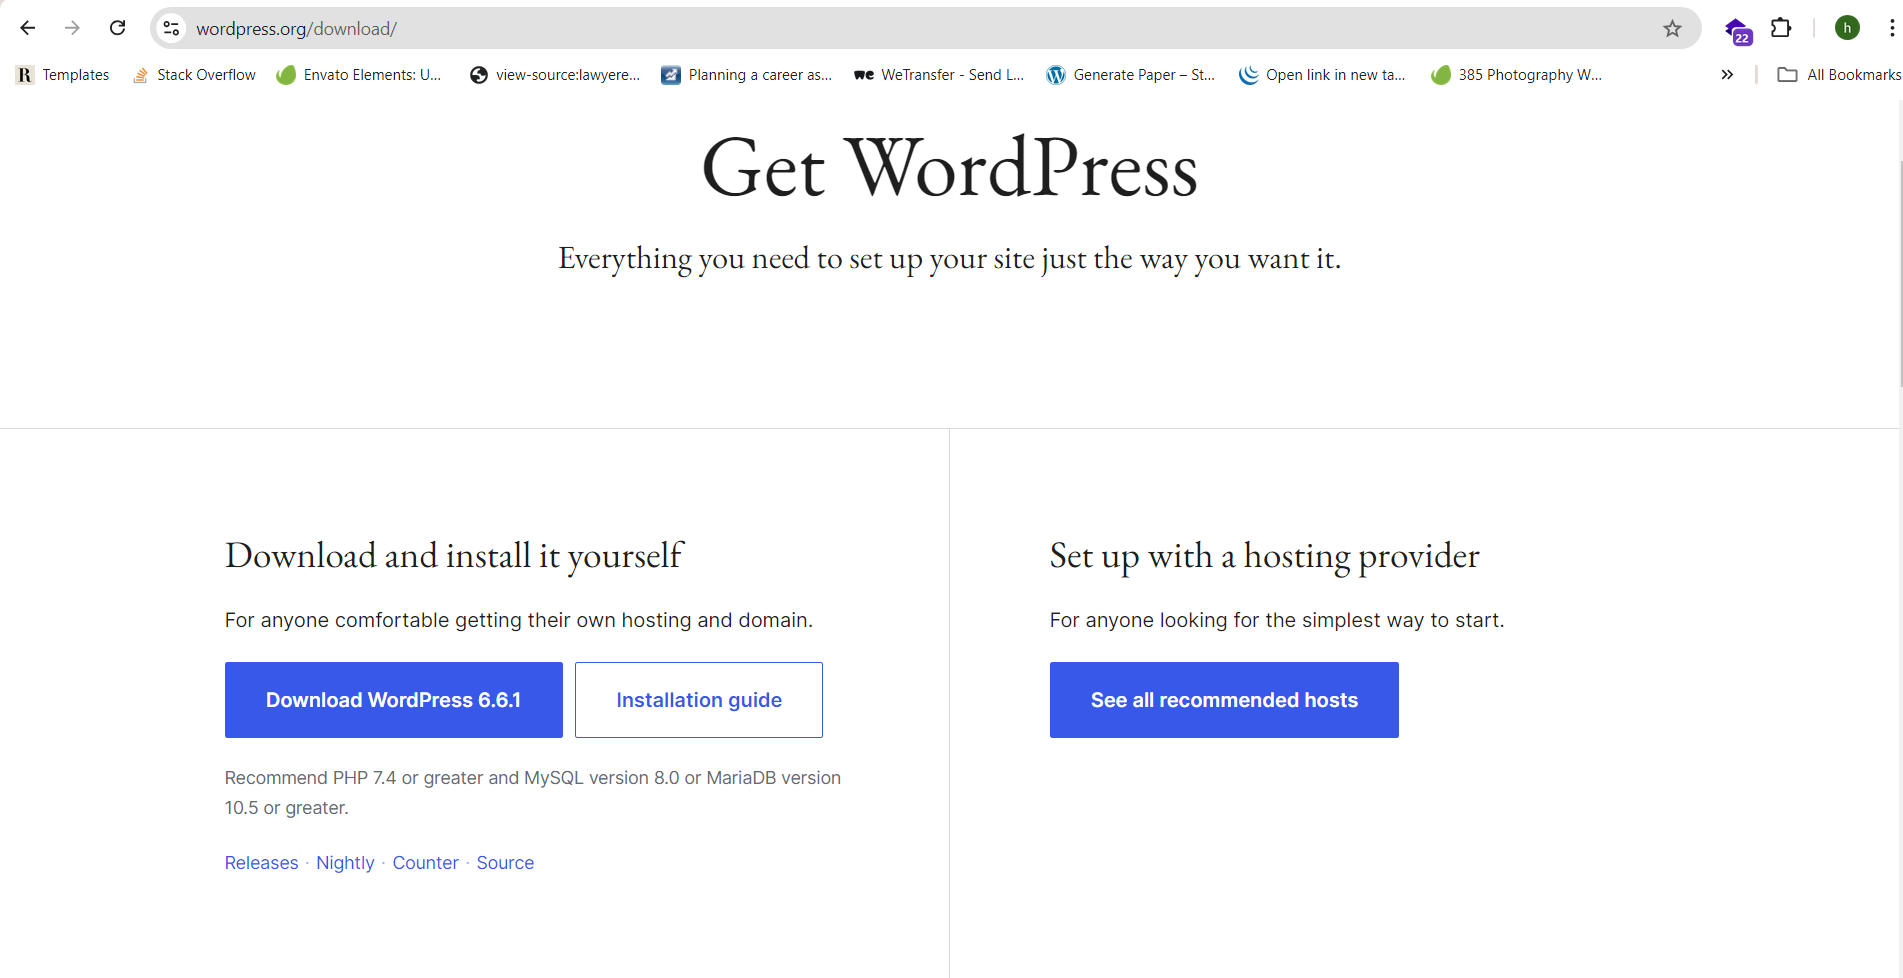
- Go to the Official Website: Visit WordPress.org.

- Download the Latest Version: Click the “Download WordPress” button to get the latest release.
- Extract the Files: Once downloaded, extract the .zip file to a folder on your computer.
Step 2: Upload WordPress to Hosting
For Remote Hosting:
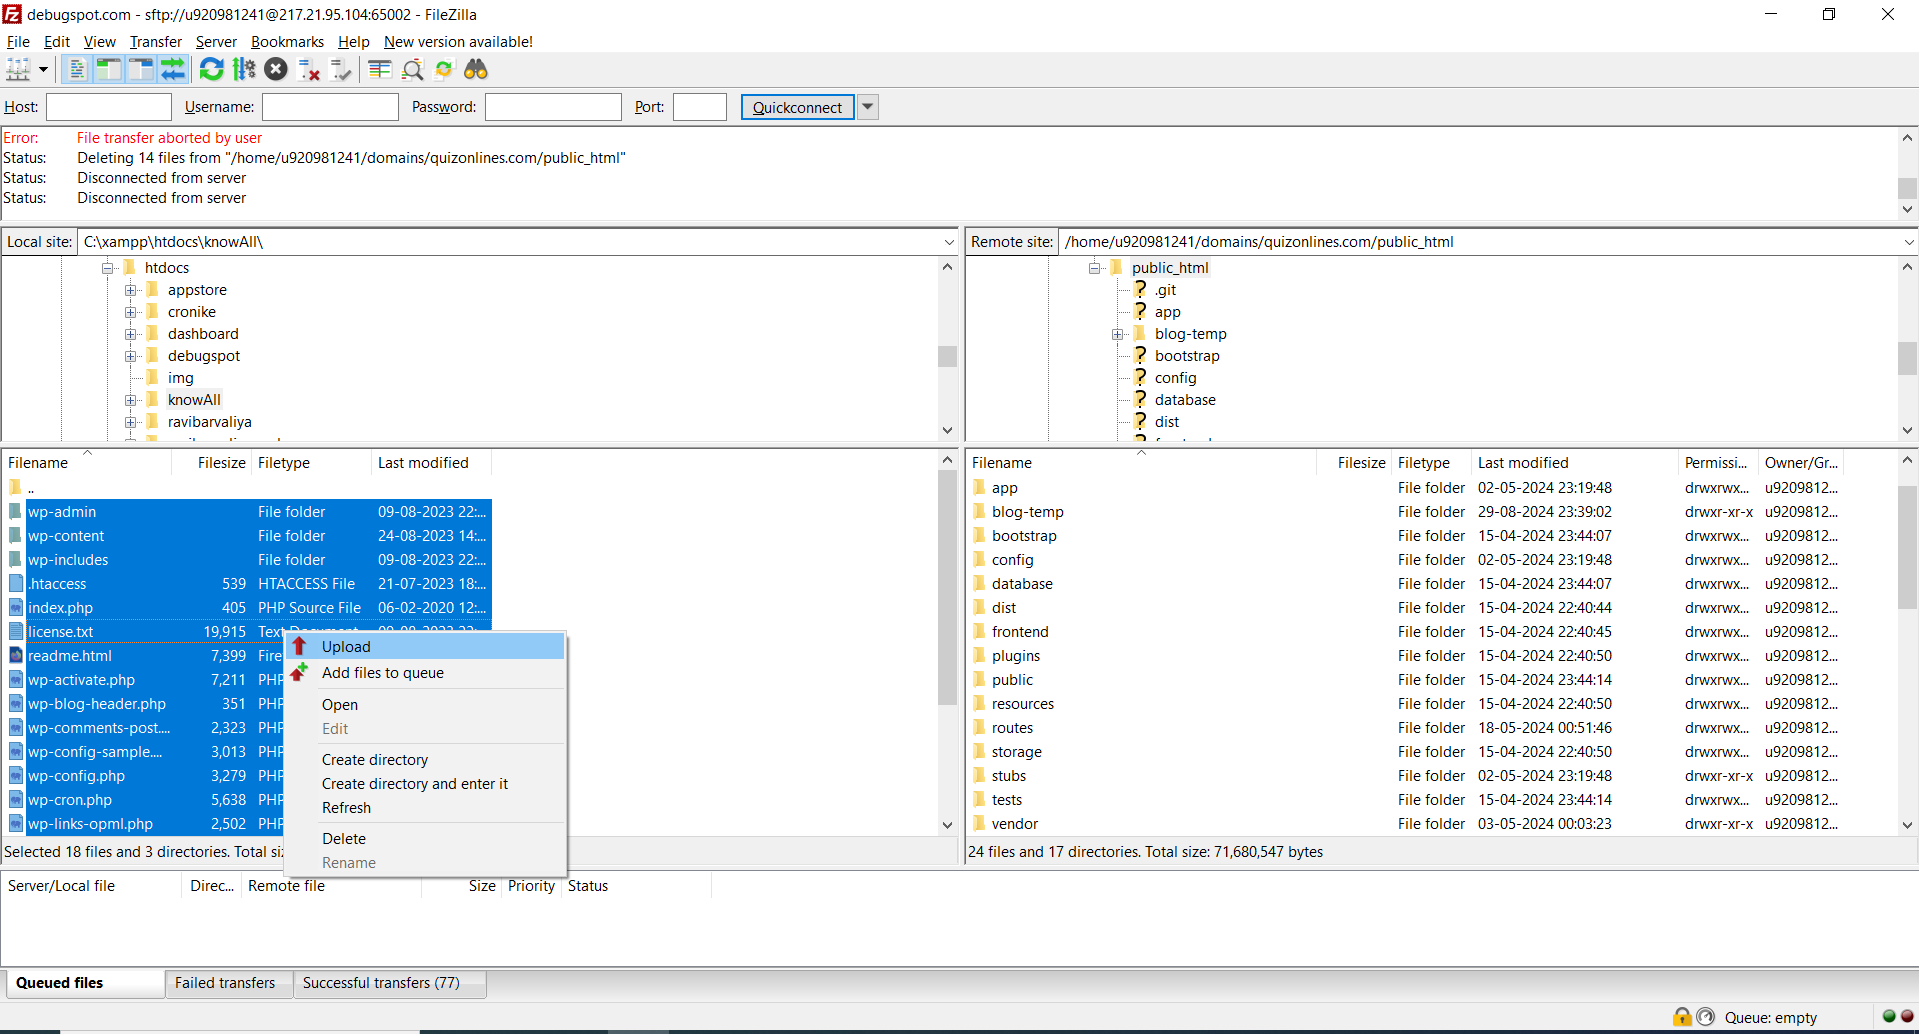
- Connect to Your Server: Use an FTP client (like FileZilla) to upload the extracted files to your hosting server’s root directory (usually `public_html`).
- Upload the Files: Alternatively, use your hosting cPanel to upload the files.

For Local Development:
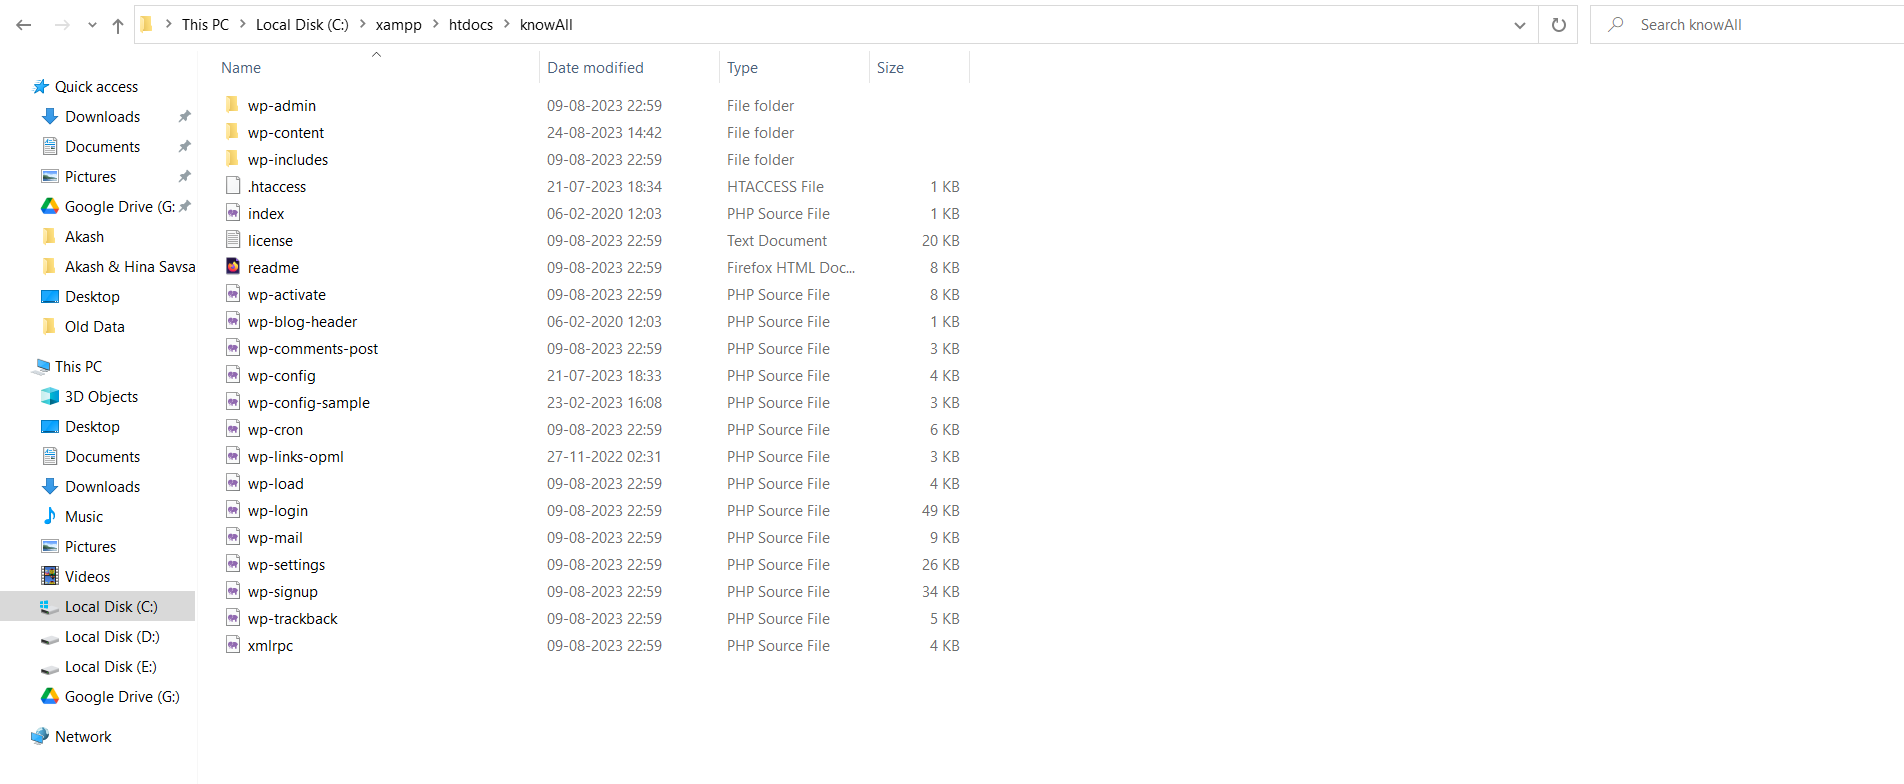
- Locate Your Local Server Folder: For XAMPP, WAMP, or LAMP, navigate to the htdocs (XAMPP) or www (WAMP/LAMP) folder.
- Move WordPress Files: Copy the extracted WordPress files into this directory.

Step 3: Create a Database
For Remote Hosting:
- Log in to your hosting cPanel.
- Go to MySQL Databases.
- Create a new database.
- Create a New Database User: Add a new user with a strong password and assign this user to the database with all privileges.
For Local Development:
- Open phpMyAdmin: Go to http://localhost/phpmyadmin in your browser.

- Create a new database: Enter a name for your database and click “Create Database.”
Step 4: Configure wp-config.php
- Rename `wp-config-sample.php` to `wp-config.php`.
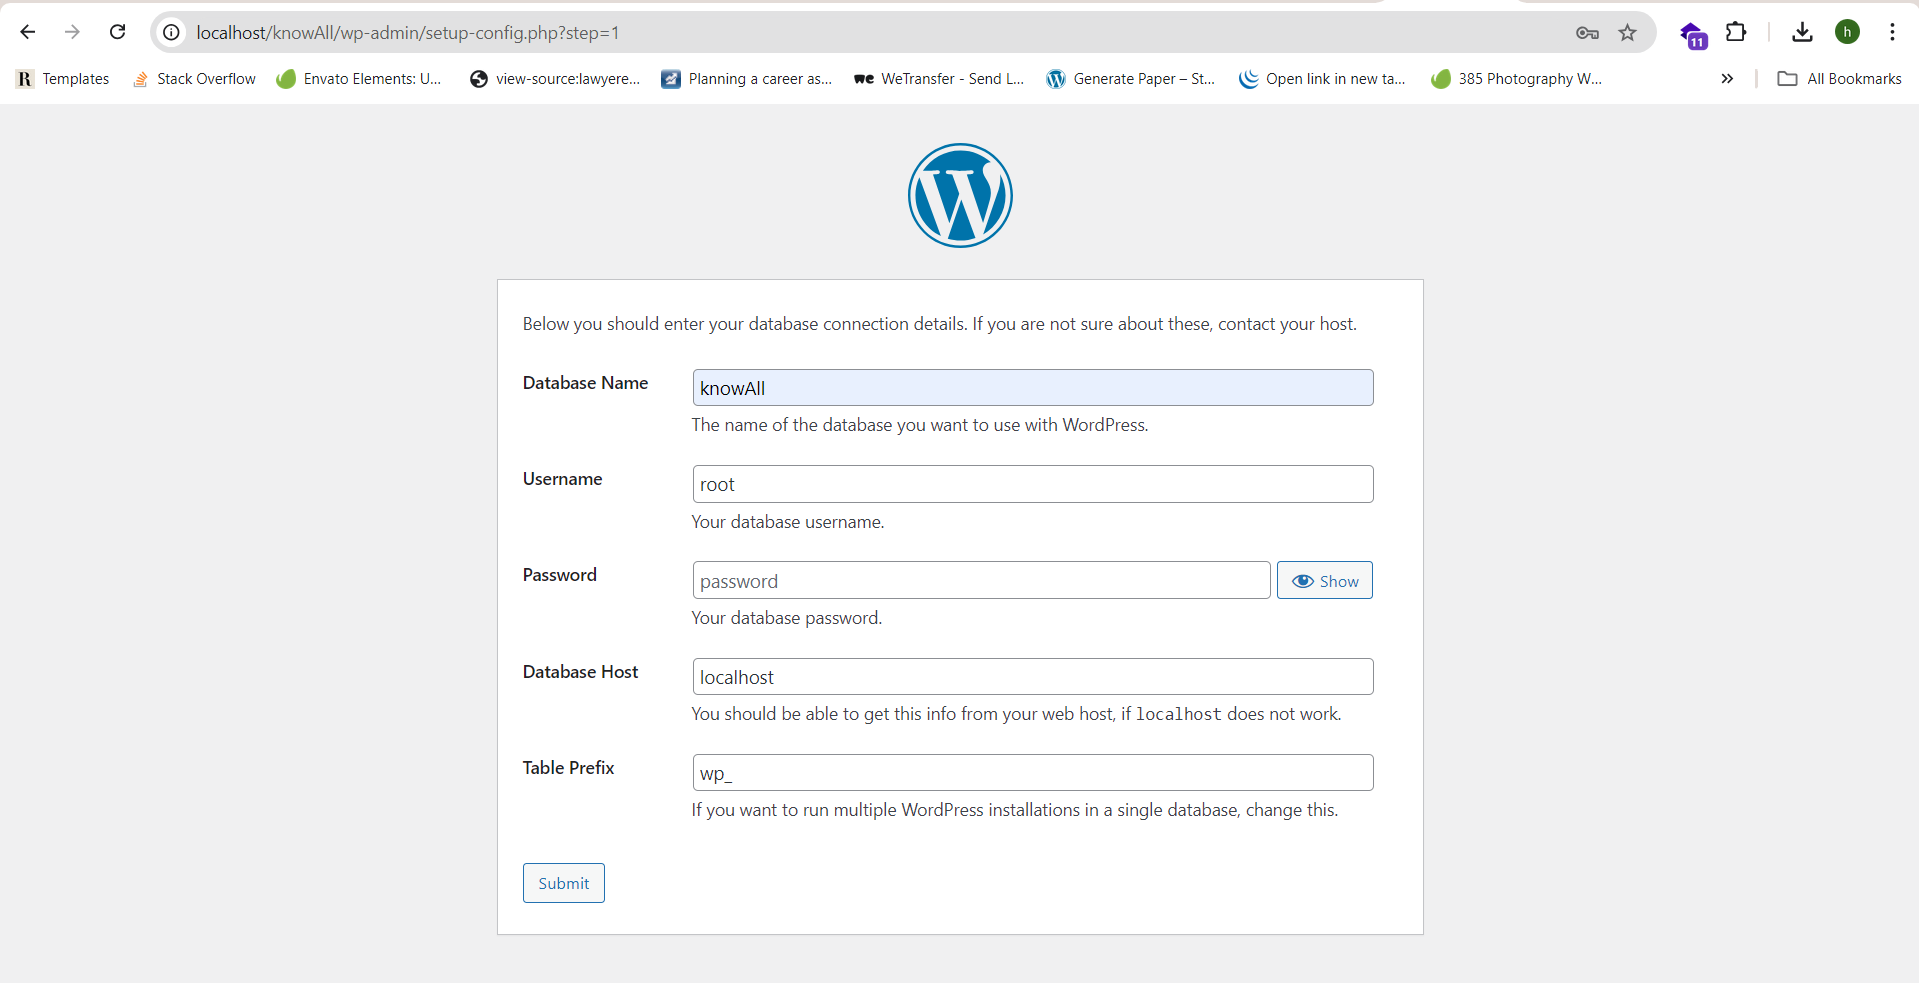
- Edit `wp-config.php` and enter the database details:
define('DB_NAME', 'database_name'); define('DB_USER', 'username'); define('DB_PASSWORD', 'password'); define('DB_HOST', 'localhost'); - Save the file.
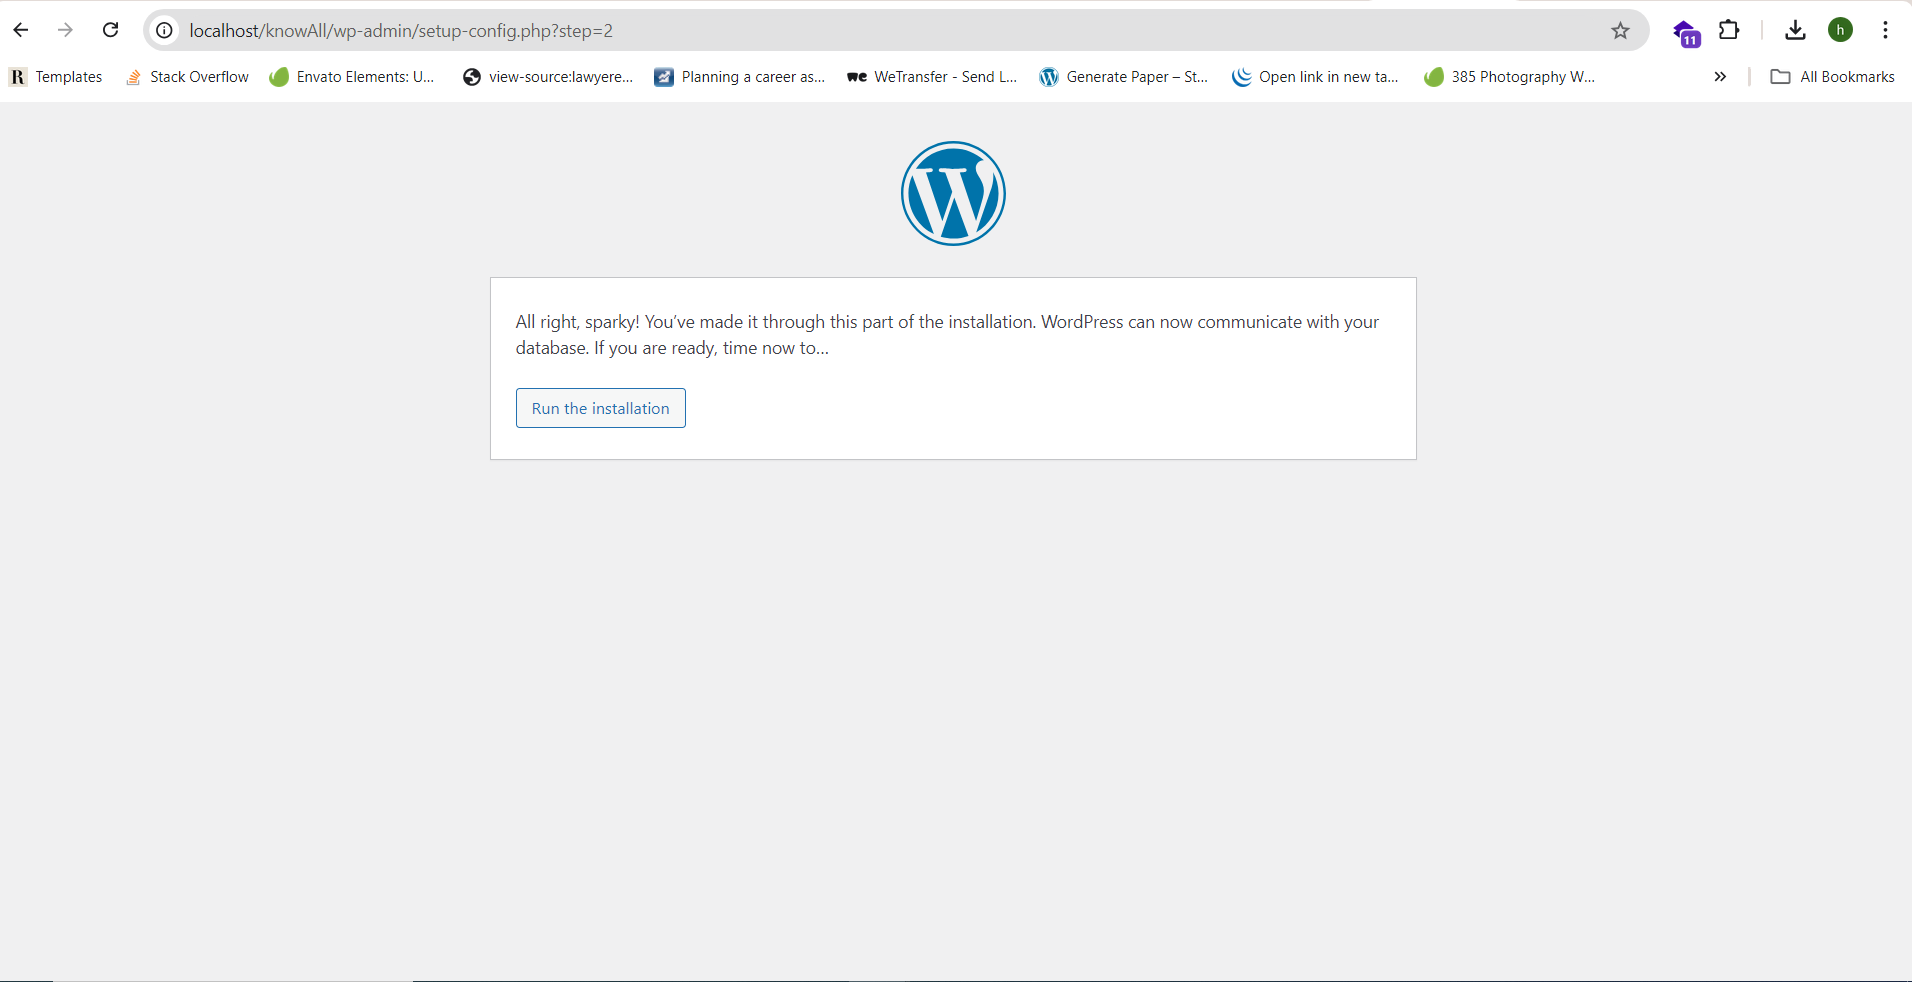
Step 5: Run the Installation
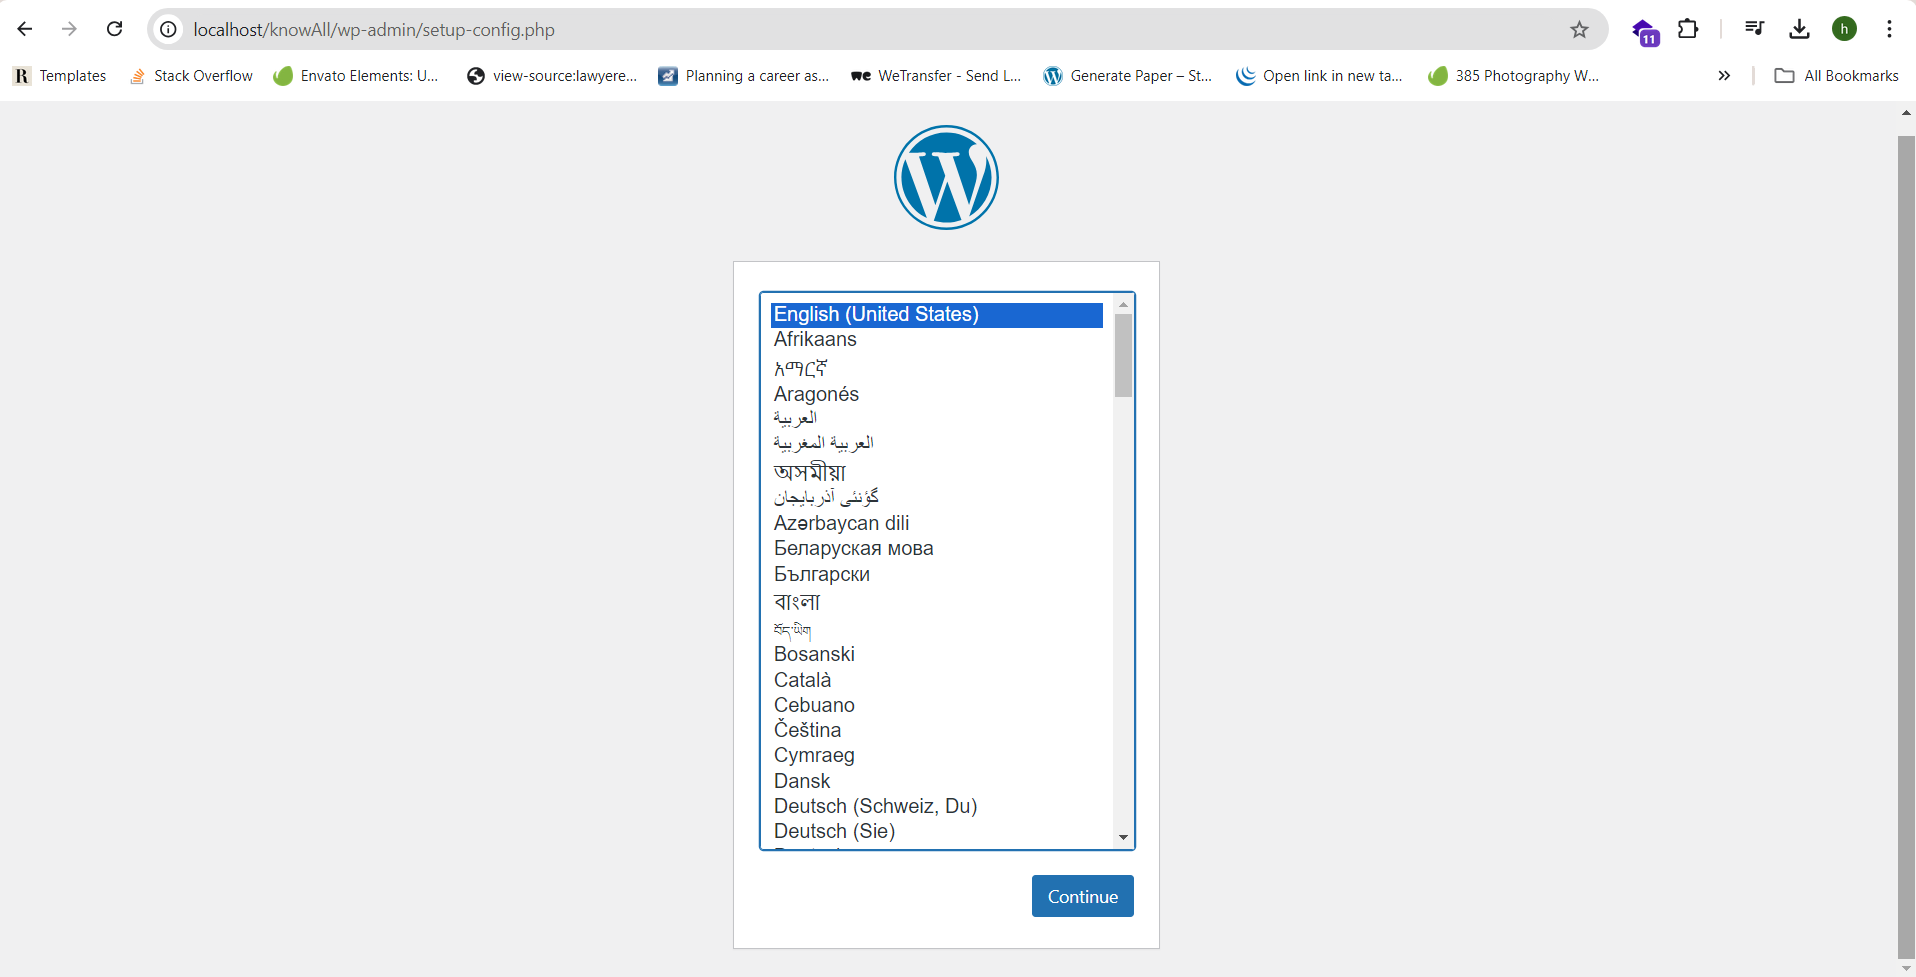
- Open Your Website: Go to http://yourwebsite.com (for remote) or http://localhost/yourfoldername (for local).
- Choose Language: Select your preferred language and click “Continue.”


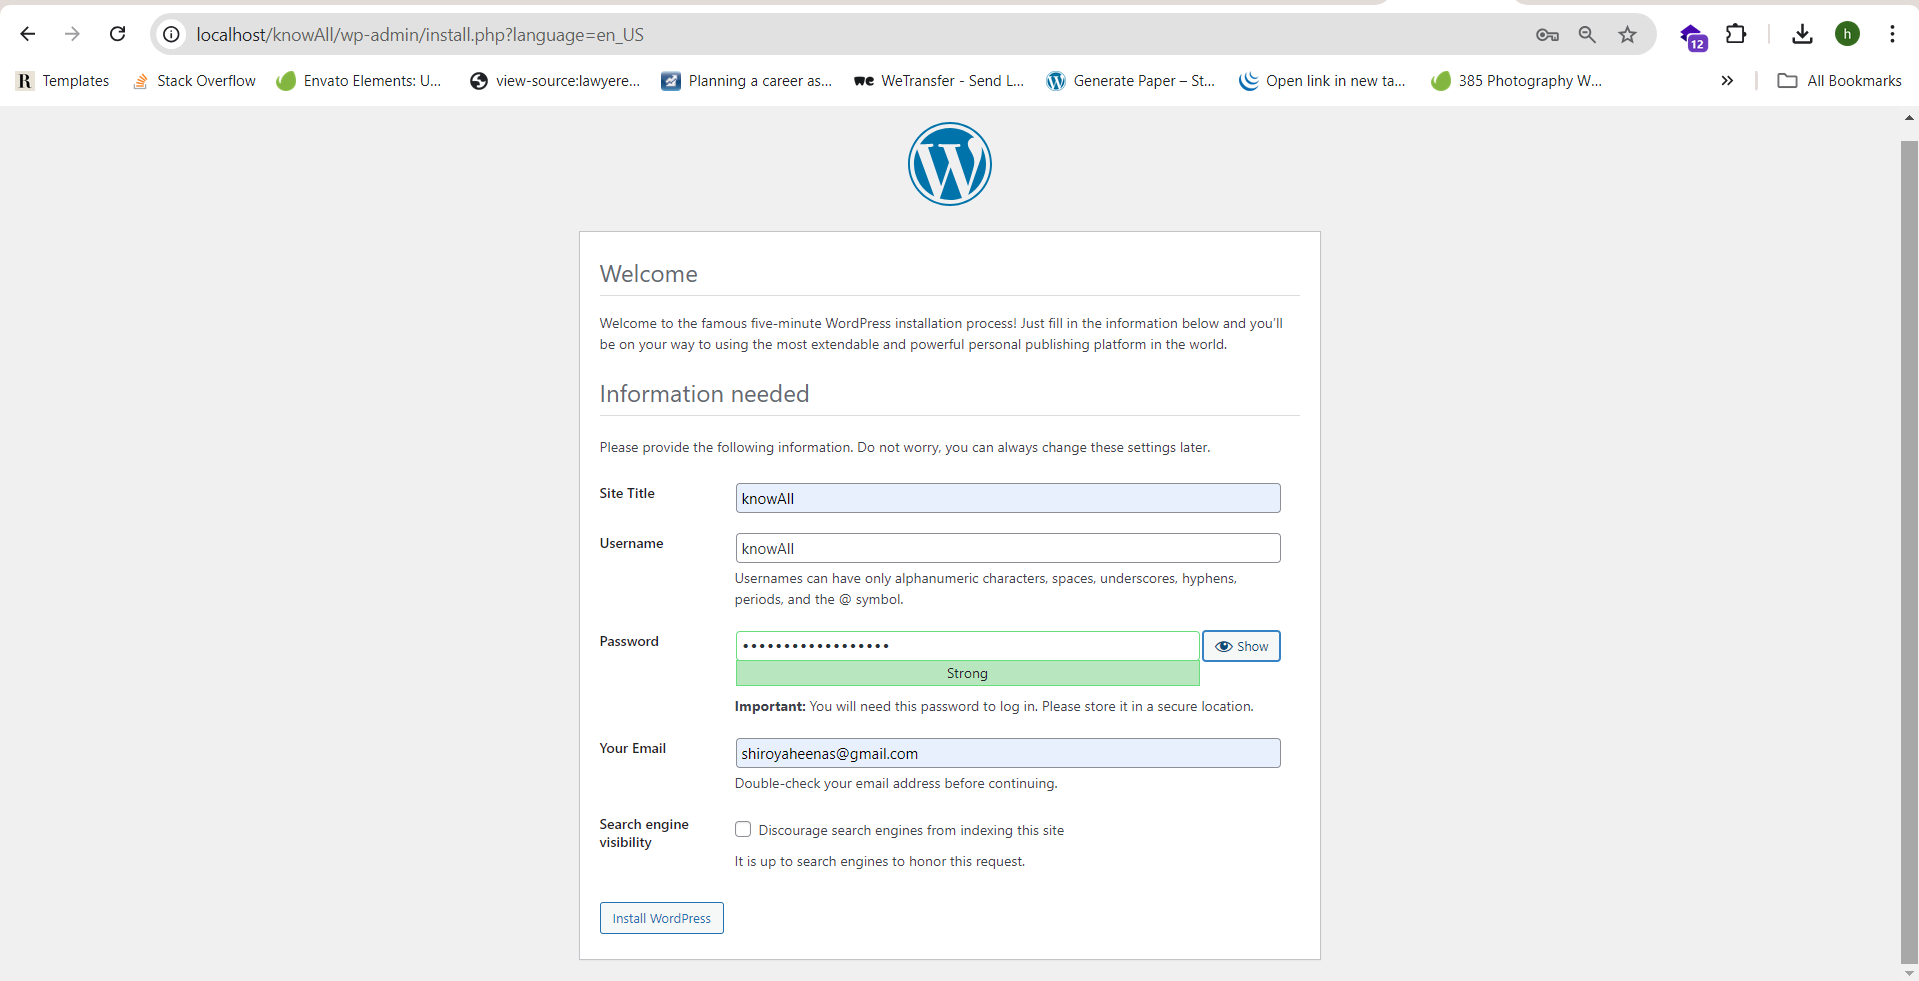
- Fill in the site information (Site Title, Username, Password, Email).

- Click “Install WordPress”.
Step 6: Login to WordPress
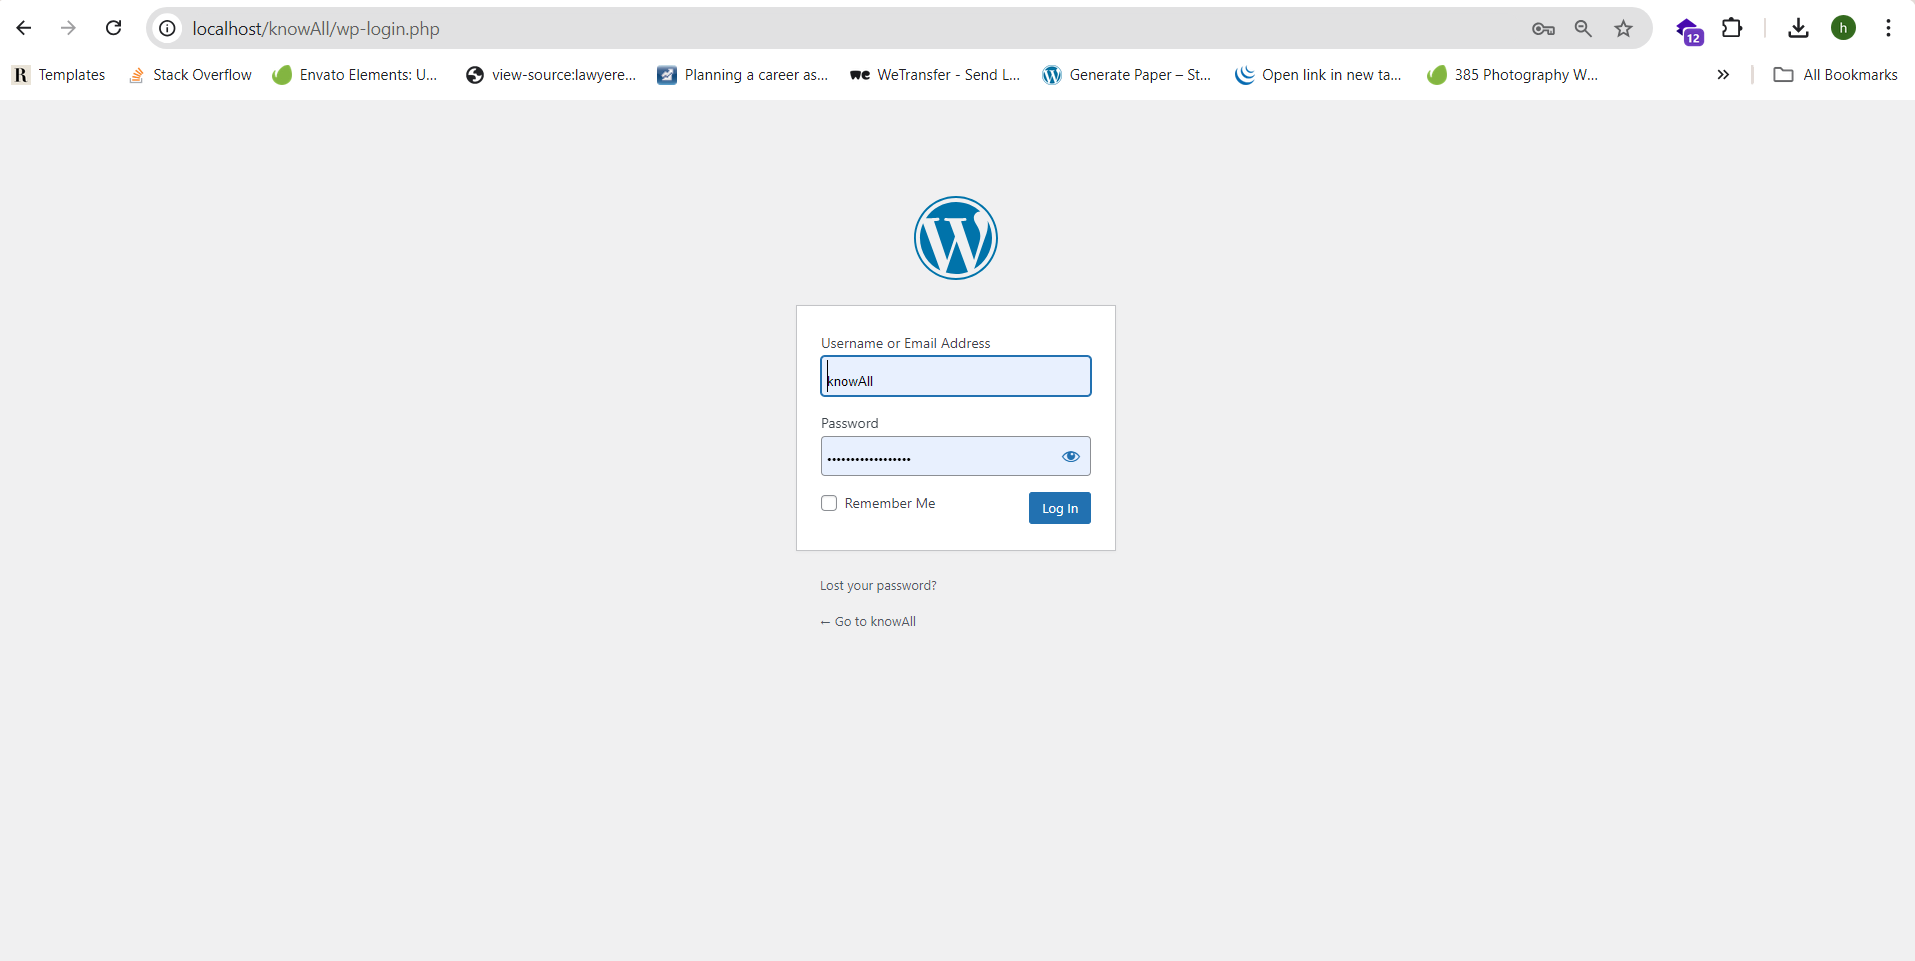
- After installation, log in with the credentials you created.

- Go to http://yourwebsite.com/wp-admin (or http://localhost/yourfoldername/wp-admin).
- Start Customizing: After logging in, you can begin customizing your site, installing themes, and adding plugins.
By following these steps, you’ll manually install WordPress and be ready to start building your website.
