

Want to add a smart chatbot to your app? Building a Laravel AI chatbot used to mean juggling raw API calls and glue code. With the brand-new Laravel 13 AI SDK, you can build a streaming, memory-aware Laravel AI chatbot in minutes – with a clean, expressive API that works across OpenAI, Anthropic, Gemini and more. This step-by-step 2026 guide shows you exactly how, with full code.
What Is the Laravel AI SDK?
The Laravel AI SDK is a first-party package, introduced with Laravel 13 in March 2026, that gives you one clean, expressive API for talking to any AI provider – OpenAI, Anthropic, Gemini, Groq, Mistral, xAI and more. Instead of hand-rolling HTTP requests for each provider, you define Agents (small PHP classes that hold your instructions, tools, and memory) and call them like any other Laravel service. It handles streaming, conversation history, tool calling, and structured output out of the box, which is exactly what you need to build a real Laravel AI chatbot. You can read the full Laravel AI SDK documentation for the complete reference.
What You Will Build
By the end of this guide you will have a working Laravel AI chatbot that streams replies in real time and remembers the conversation. You need three things:
- Laravel 13 (this SDK ships with it) running on PHP 8.3+.
- An API key from an AI provider – a free or paid OpenAI or Anthropic key works perfectly.
- A few minutes. That is genuinely all it takes.
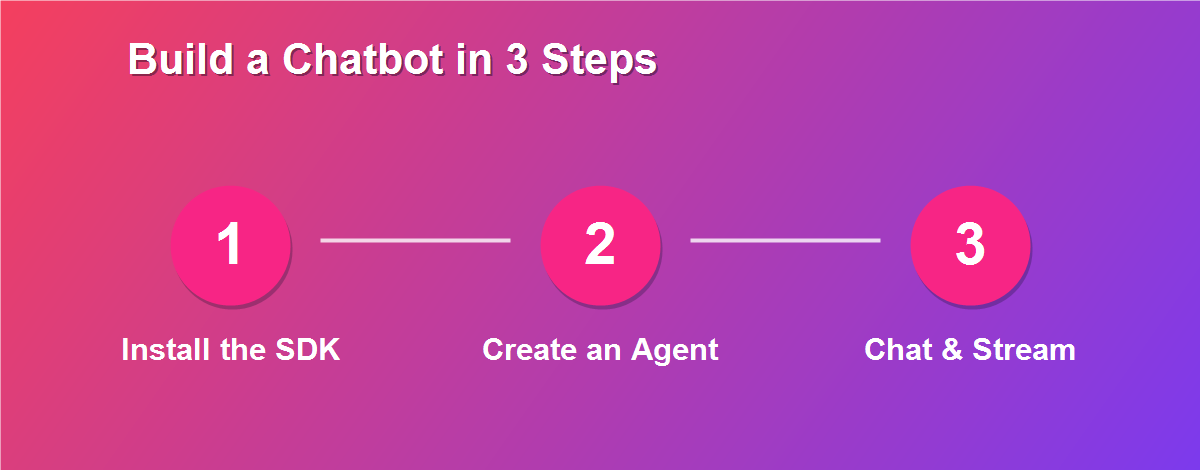
Step 1: Install the Laravel AI SDK
From the root of your Laravel 13 project, pull in the package, publish its config, and run the migration that stores conversations:
composer require laravel/ai

php artisan vendor:publish --provider="Laravel\Ai\AiServiceProvider"

php artisan migrate
The migration creates the tables the SDK uses to remember conversations, so your Laravel AI chatbot can pick up where it left off.
Step 2: Add Your AI Provider Key
Open your .env file and add the key for whichever provider you want to use as the default. For OpenAI:
OPENAI_API_KEY=sk-your-secret-key-hereThe SDK also recognizes ANTHROPIC_API_KEY, GEMINI_API_KEY, GROQ_API_KEY, MISTRAL_API_KEY, XAI_API_KEY and others. You can set the default provider and model in the published config/ai.php file, so you never have to repeat them in your code.
Step 3: Your First AI Response
Before building the full chatbot, test that everything works with a quick anonymous agent. Open Tinker with php artisan tinker and run:
use function Laravel\Ai\agent;

$response = agent(
    instructions: 'You are a helpful assistant.',
)->prompt('Explain what Laravel is in one sentence.');

echo (string) $response;
If you see a sensible answer, your Laravel AI SDK setup is working and you are ready to build a proper chatbot agent.
Step 4: Create a Chatbot Agent
Agents are the heart of the SDK. Generate one with the new Artisan command:
php artisan make:agent SupportBotThis creates app/Ai/Agents/SupportBot.php. Give it a personality by editing its instructions:
<?php

namespace App\Ai\Agents;

use Laravel\Ai\Contracts\Agent;
use Laravel\Ai\Promptable;

class SupportBot implements Agent
{
    use Promptable;

    public function instructions(): string
    {
        return 'You are a friendly support assistant for an online store. '
            .'Answer clearly and concisely. If you are unsure, say so '
            .'rather than guessing.';
    }
}
You can already talk to it. Anywhere in your app, run:
$reply = (new SupportBot)->prompt('Do you ship internationally?');

return (string) $reply;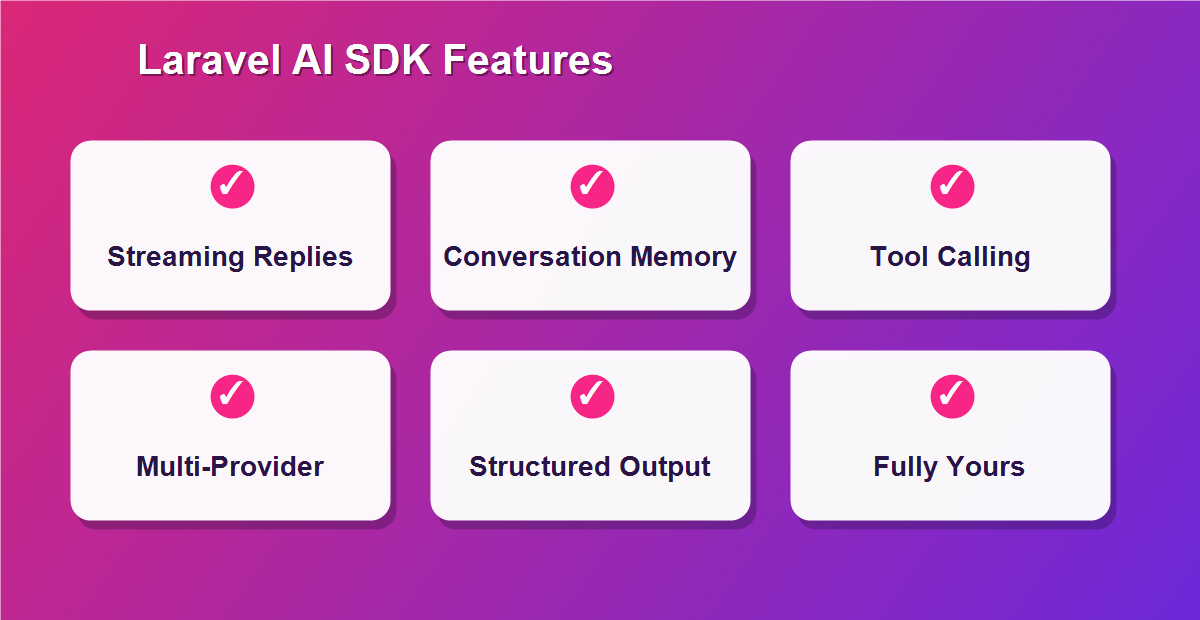
Step 5: Add Conversation Memory
A real Laravel AI chatbot needs to remember what was said. The SDK makes this effortless with two traits. First, add HasConversations to your User model:
<?php

namespace App\Models;

use Illuminate\Foundation\Auth\User as Authenticatable;
use Laravel\Ai\Concerns\HasConversations;

class User extends Authenticatable
{
    use HasConversations;
}
Then add RemembersConversations to the agent and implement the Conversational contract:
<?php

namespace App\Ai\Agents;

use Laravel\Ai\Concerns\RemembersConversations;
use Laravel\Ai\Contracts\Agent;
use Laravel\Ai\Contracts\Conversational;
use Laravel\Ai\Promptable;

class SupportBot implements Agent, Conversational
{
    use Promptable, RemembersConversations;

    public function instructions(): string
    {
        return 'You are a friendly support assistant for an online store.';
    }
}
Now start a conversation for a user and keep going:
// Start a new conversation
$response = (new SupportBot)->forUser($user)->prompt('Hi, I need help with an order.');

$conversationId = $response->conversationId;

// Later, continue the same conversation
$response = (new SupportBot)
    ->continue($conversationId, as: $user)
    ->prompt('It has not arrived yet.');
The SDK saves and replays the history automatically – you never build the message array yourself.
Step 6: Build the Chat Controller and Routes
Wire the agent into a controller so your frontend can talk to it. Add the routes:
// routes/web.php
use App\Http\Controllers\ChatController;

Route::middleware('auth')->group(function () {
    Route::get('/chat', [ChatController::class, 'index']);
    Route::post('/chat', [ChatController::class, 'send']);
});
Then the controller:
<?php

namespace App\Http\Controllers;

use App\Ai\Agents\SupportBot;
use Illuminate\Http\Request;

class ChatController extends Controller
{
    public function index()
    {
        return view('chat');
    }

    public function send(Request $request)
    {
        $request->validate(['message' => 'required|string|max:2000']);

        $user = $request->user();
        $conversationId = $request->input('conversation_id');

        $bot = $conversationId
            ? (new SupportBot)->continue($conversationId, as: $user)
            : (new SupportBot)->forUser($user);

        $response = $bot->prompt($request->input('message'));

        return response()->json([
            'reply' => (string) $response,
            'conversation_id' => $response->conversationId,
        ]);
    }
}
Step 7: Stream Replies to the Browser
Waiting for a full answer feels slow. Streaming shows words as the AI generates them, exactly like ChatGPT. The SDK makes this a one-liner – just swap prompt() for stream():
// routes/web.php
Route::post('/chat/stream', function (Request $request) {
    $request->validate(['message' => 'required|string|max:2000']);

    return (new SupportBot)
        ->forUser($request->user())
        ->stream($request->input('message'))
        ->usingVercelDataProtocol();
})->middleware('auth');
You can also run a callback once streaming finishes – handy for logging token usage or analytics:
use Laravel\Ai\Responses\StreamedAgentResponse;

return (new SupportBot)
    ->forUser($request->user())
    ->stream($request->input('message'))
    ->then(function (StreamedAgentResponse $response) {
        logger()->info('Tokens used', ['usage' => $response->usage]);
    });
Step 8: A Simple Chat UI
On the frontend, if you use React or Inertia, the official useStream hook makes the UI trivial:
import { useStream } from '@laravel/stream-react';

const { data, send, isStreaming } = useStream('/chat/stream');

// Call send({ message }) on submit, and render `data` as it streams in.
Prefer plain Blade? A tiny form plus a fetch() call to the non-streaming /chat route works too – post the message, append the JSON reply to the page, and store the returned conversation_id so the next message continues the same chat.
Switch AI Providers in One Line
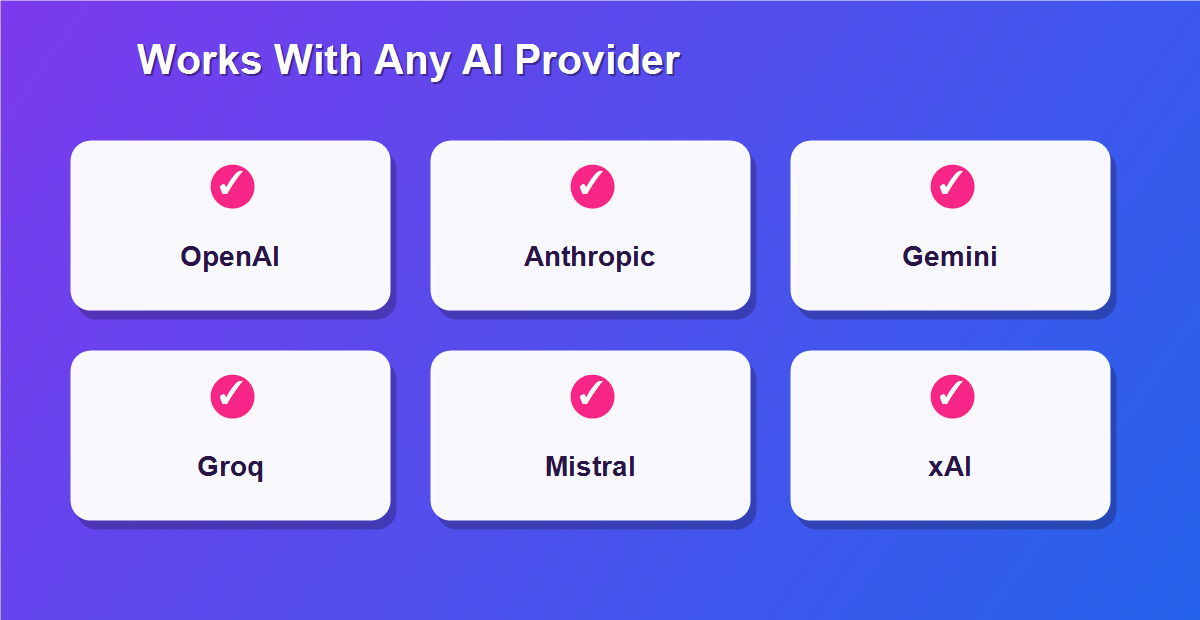
One of the best things about the SDK is that your Laravel AI chatbot is not locked to a single provider. Override the provider and model per call using the Lab enum:
use Laravel\Ai\Enums\Lab;

$response = (new SupportBot)->prompt(
    'Summarize our return policy in three bullet points.',
    provider: Lab::Anthropic,
    model: 'claude-haiku-4-5-20251001',
    timeout: 120,
);
Switch from OpenAI to Anthropic, Gemini, or a local model without touching the rest of your app – perfect for balancing cost, speed, and quality.
Give Your Chatbot Tools (Function Calling)
To let the bot actually do things – look up an order, check stock, create a ticket – give it tools. Implement the HasTools contract and return your tool classes:
use Laravel\Ai\Contracts\HasTools;

class SupportBot implements Agent, Conversational, HasTools
{
    use Promptable, RemembersConversations;

    public function tools(): iterable
    {
        return [
            new LookupOrder,
            new CheckStock,
        ];
    }
}
The model decides when to call a tool, the SDK runs your PHP code, and the result is fed back into the reply – turning a simple chatbot into a genuine assistant.
Structured Output for Reliable Data
When you need machine-readable answers rather than prose – a category, a score, a set of fields – implement HasStructuredOutput and define a schema. The response then behaves like an array, so $response['score'] just works. This is ideal for classification, moderation, or extracting data from user messages inside your chatbot flow.
Security and Cost Tips
- Never expose your API key – keep it in
.env, never in JavaScript or the repo. - Validate and limit input – cap message length (as shown) to control token costs.
- Rate-limit the chat route with Laravel throttling so a single user cannot run up your bill.
- Pick a cheaper model like a mini or haiku variant for routine replies, and reserve larger models for complex questions.
- Set a system instruction that keeps the bot on-topic and refuses out-of-scope requests.
Common Errors and Fixes
- “Missing API key” – confirm the key is in
.envand runphp artisan config:clear. - Timeouts on long replies – increase the
timeoutargument or use streaming so the user sees progress. - Conversation not remembered – make sure the User model uses
HasConversationsand you callforUser()orcontinue(). - Class not found after install – run
composer dump-autoload.
Related Laravel Guides
Enjoyed this tutorial? These other free Laravel guides from DebugSpot pair well with it:
- How to Search Comma Separated Values In Laravel
- Easily Generate an Admin Panel in Laravel in Just 2 Minutes
- 6 Easy Steps: How to Install and Configure Supervisor for a Laravel Application on Linux
- Easily Ensure At Least One Checkbox is Checked: jQuery Validation Guide
- 7 Easy Steps to Successfully Create an IAM User in AWS: A Complete Guide
Frequently Asked Questions
What is the Laravel AI SDK?
It is a first-party Laravel 13 package that gives you one unified API to build AI features – chatbots, agents, and more – across providers like OpenAI, Anthropic, and Gemini.
Do I need Laravel 13 to build a Laravel AI chatbot?
The AI SDK ships with Laravel 13 and requires PHP 8.3+. It is the recommended way to build AI features going forward.
Which AI providers does it support?
OpenAI, Anthropic, Gemini, Groq, Mistral, xAI, DeepSeek, Ollama, and more – switchable per call with the Lab enum.
Does the chatbot remember previous messages?
Yes. Add the RemembersConversations trait to the agent and HasConversations to your User model, and history is saved and replayed automatically.
Can I stream replies like ChatGPT?
Yes. Use the stream() method, and consume it in React with the useStream hook or in Blade with a fetch call.
Is the Laravel AI SDK free?
The SDK itself is free and open source. You only pay your chosen AI provider for the tokens you use.
How do I keep API costs down?
Use a smaller model for routine replies, limit message length, and rate-limit the chat route so usage stays predictable.
Can my chatbot perform actions, not just chat?
Yes. Give it tools via the HasTools contract, and the model can call your PHP code to look up data or perform tasks.
Next Steps After Your First Chatbot
With a working Laravel AI chatbot in place, the natural next steps are to add tools so it can look up real data, connect it to your knowledge base with vector search for grounded answers, and refine the system instructions until its tone matches your brand. From there you can build specialized agents for different jobs – one for support, one for sales, one for internal queries – all sharing the same clean SDK foundation. Each improvement is small, but together they turn a simple chat box into a genuinely useful assistant that saves your team real time every day.
Start Building Your Laravel AI Chatbot
The Laravel 13 AI SDK turns what used to be a complex integration into a few expressive classes. You now have everything you need to build a streaming, memory-aware Laravel AI chatbot – and switch providers whenever you like. Explore more free Laravel tutorials and handy free developer tools from DebugSpot.